Site to Create a Clip Art Map of a Town With Buildings
Map illustration has had a real resurgence over the past few years. An exciting culling to a dry Google map, illustrated maps tin can be filled with character and fun detail to truly capture the atmosphere of a city. Creating your own map illustrations is a challenging practice in composition, merely can be a nifty add-on to your design portfolio.
Every map is a careful balancing act of plotting elements to their geographic location whilst also ensuring the illustration layout works in harmony. In this tutorial I'll walk you through a step-by-step guide to how to create your own map illustrations, from initial layout to final prototype. All you demand is access to Google maps and your digital fine art software of choice.
01. Select your location
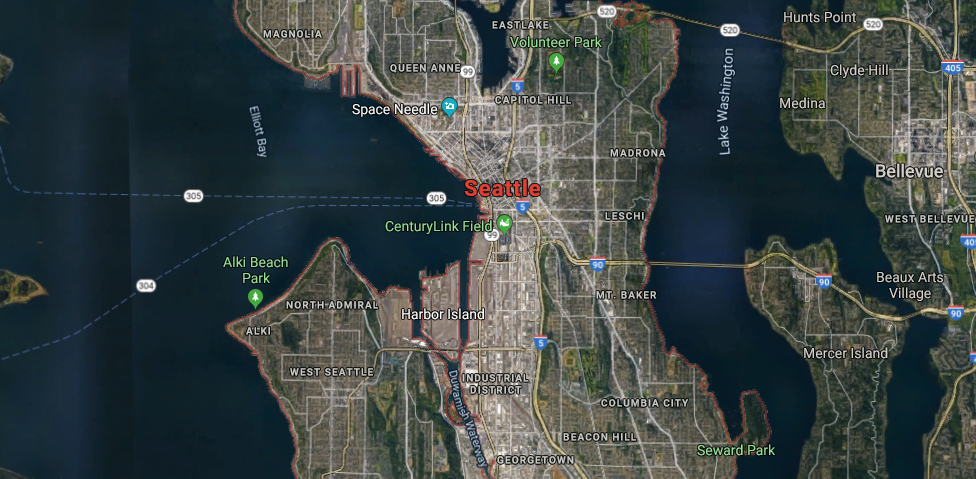
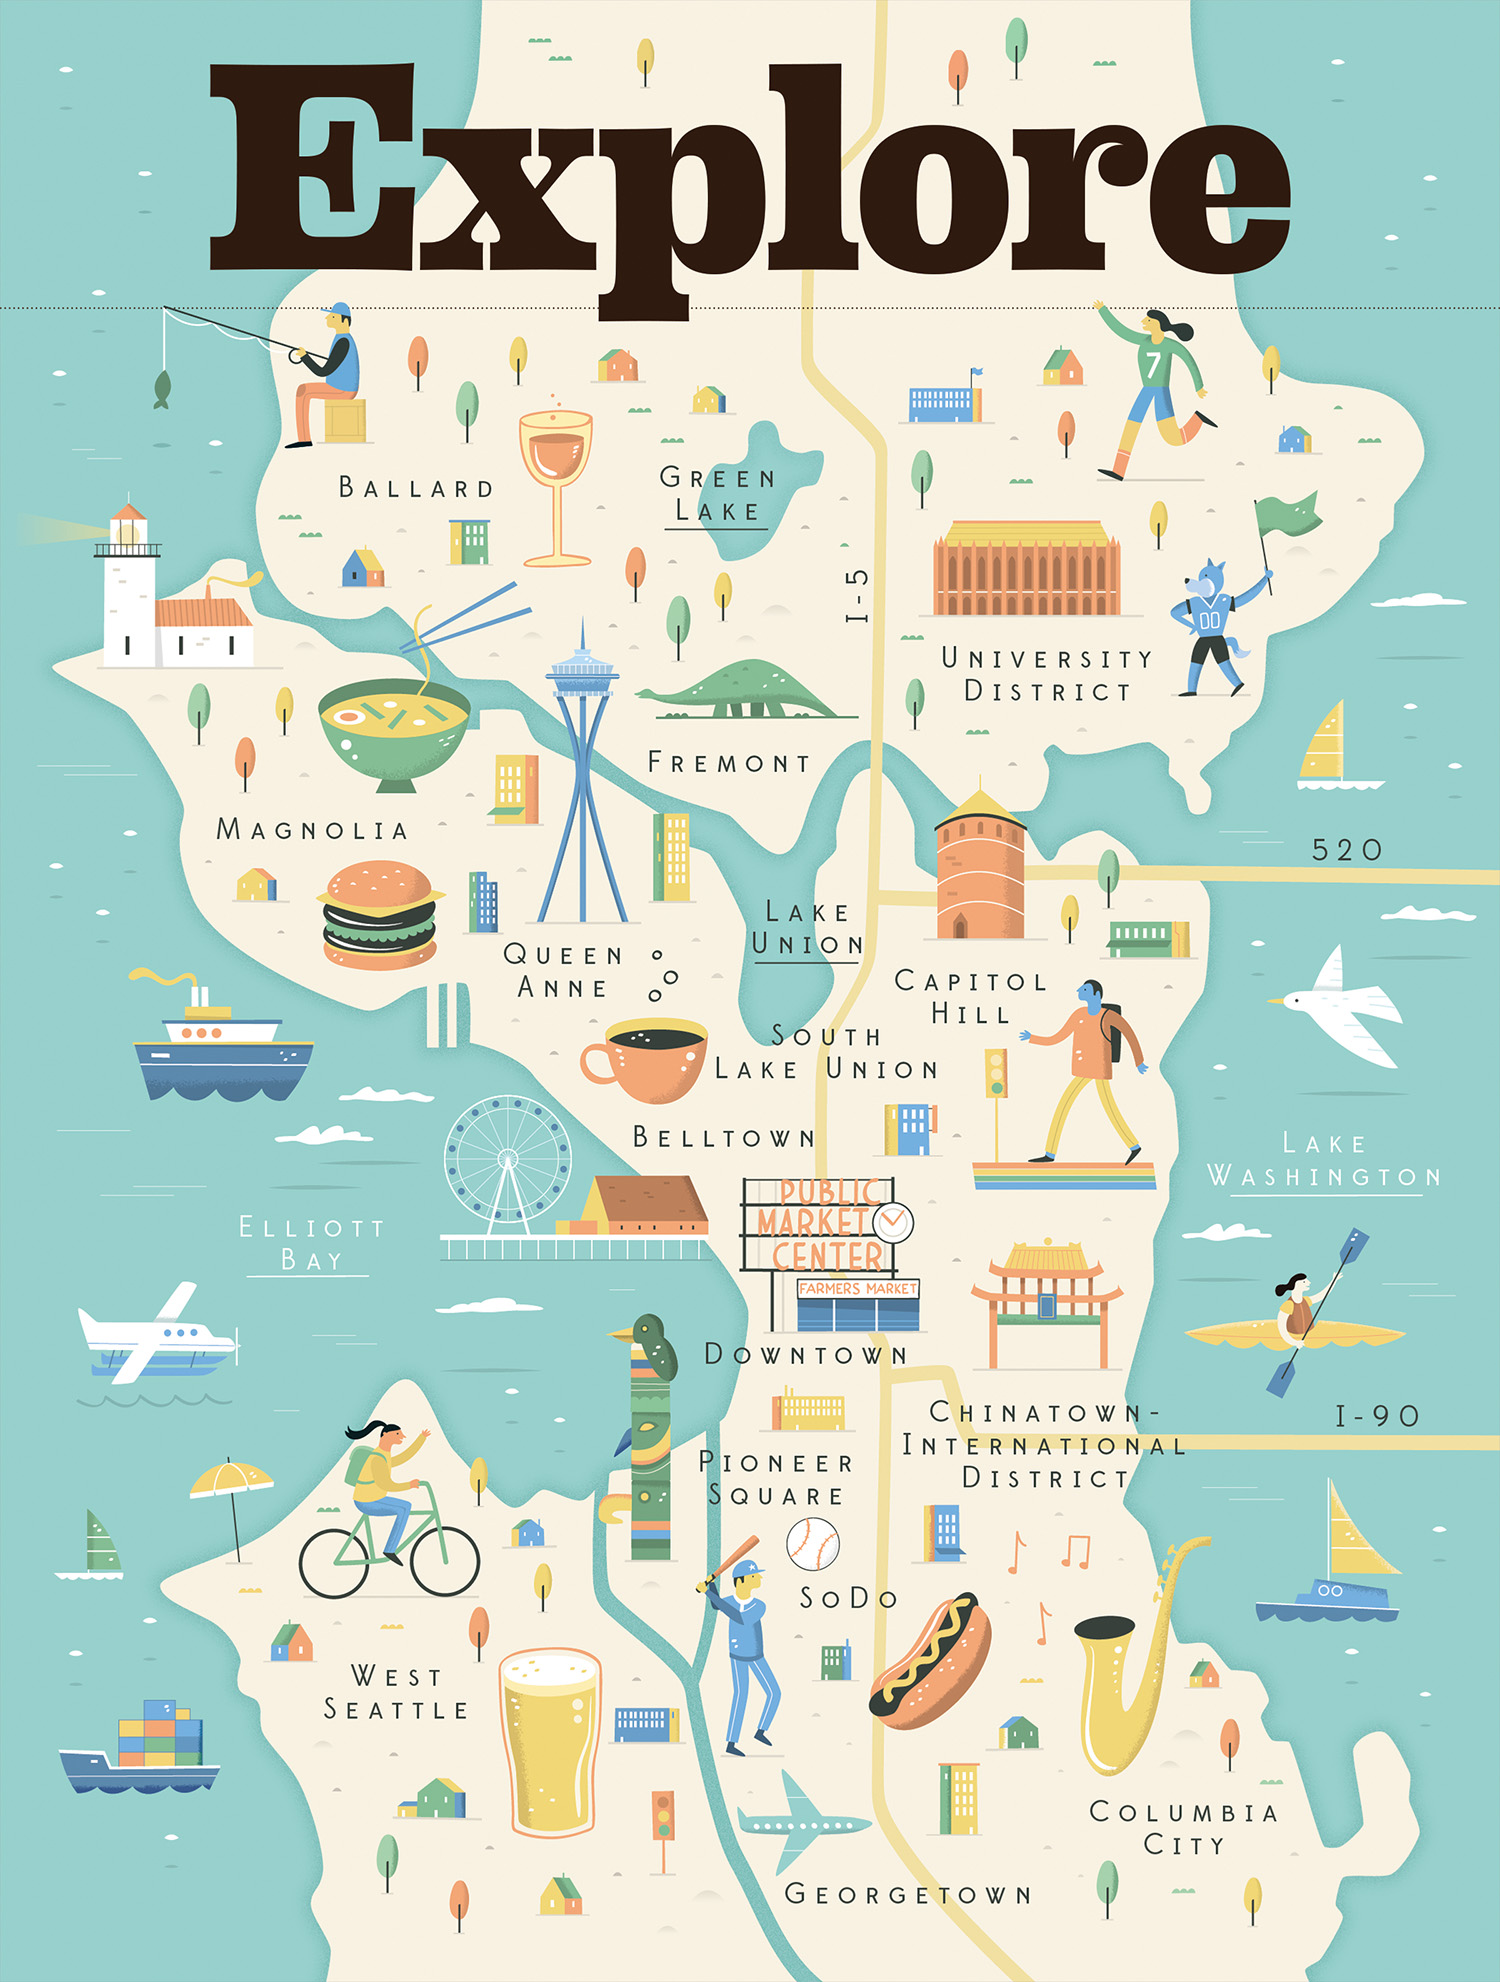
Kickoff you need to decide the location for your illustrated map. This could exist your favourite urban center or perchance your terminal vacation destination – just brand sure in that location are lots of interesting iconic landmarks to choose from. In this example I'll exist using a map of Seattle I created for the Visit Seattle tourist board.
02. Use Google Maps to make a programme
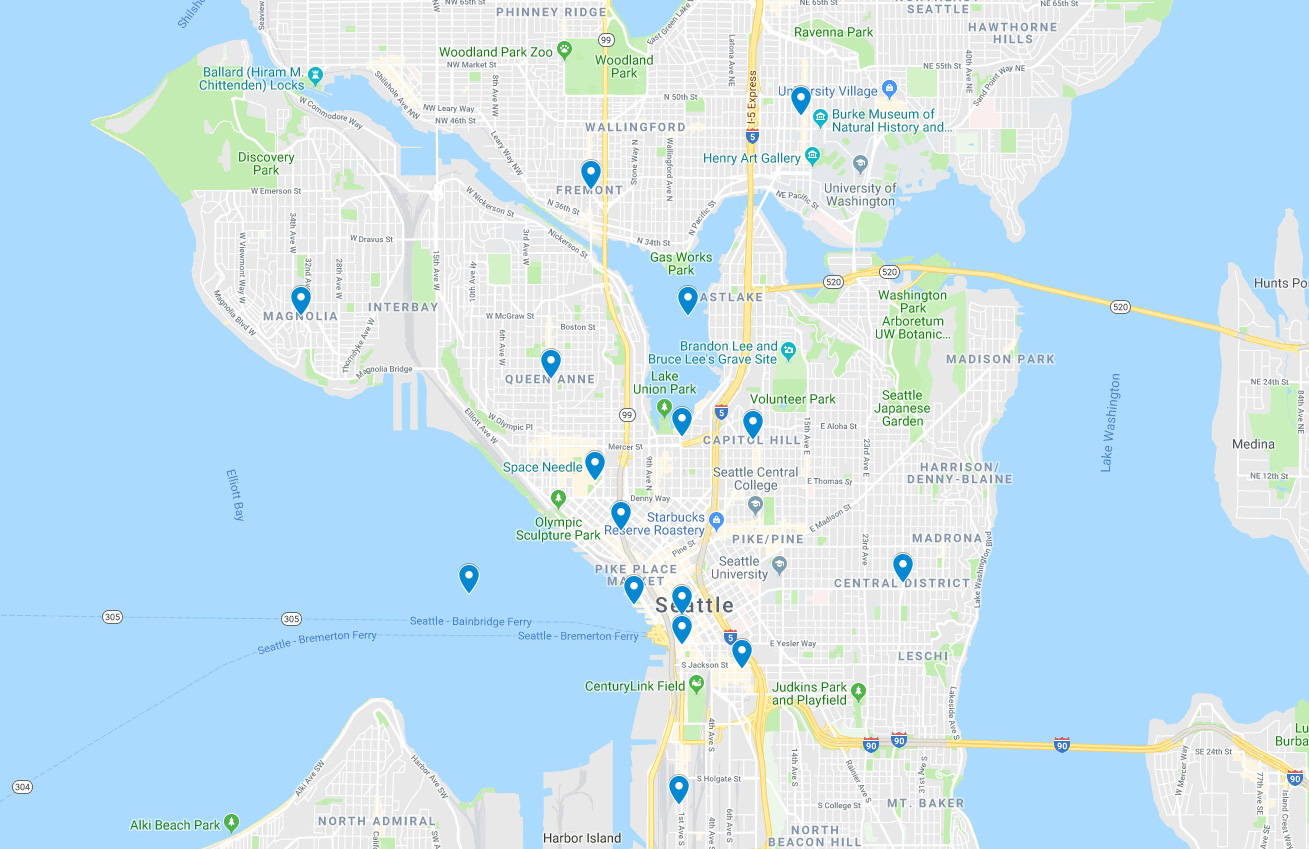
Google Maps makes information technology piece of cake to plot the landmarks out. Sign in to Google Maps and cull 'Your places' from the main card. Click the 'Maps' tab and then 'Create map'. Y'all tin now search for any landmark and once the pivot has dropped on to the map, choose 'Add to map'.
Create 6-8 pins beyond your map and take a screenshot. Information technology will help to choose landmarks that are evenly distributed across the map and call up about whether the layout needs to exist portrait, landscape or square.
03. Add the main arteries of the city
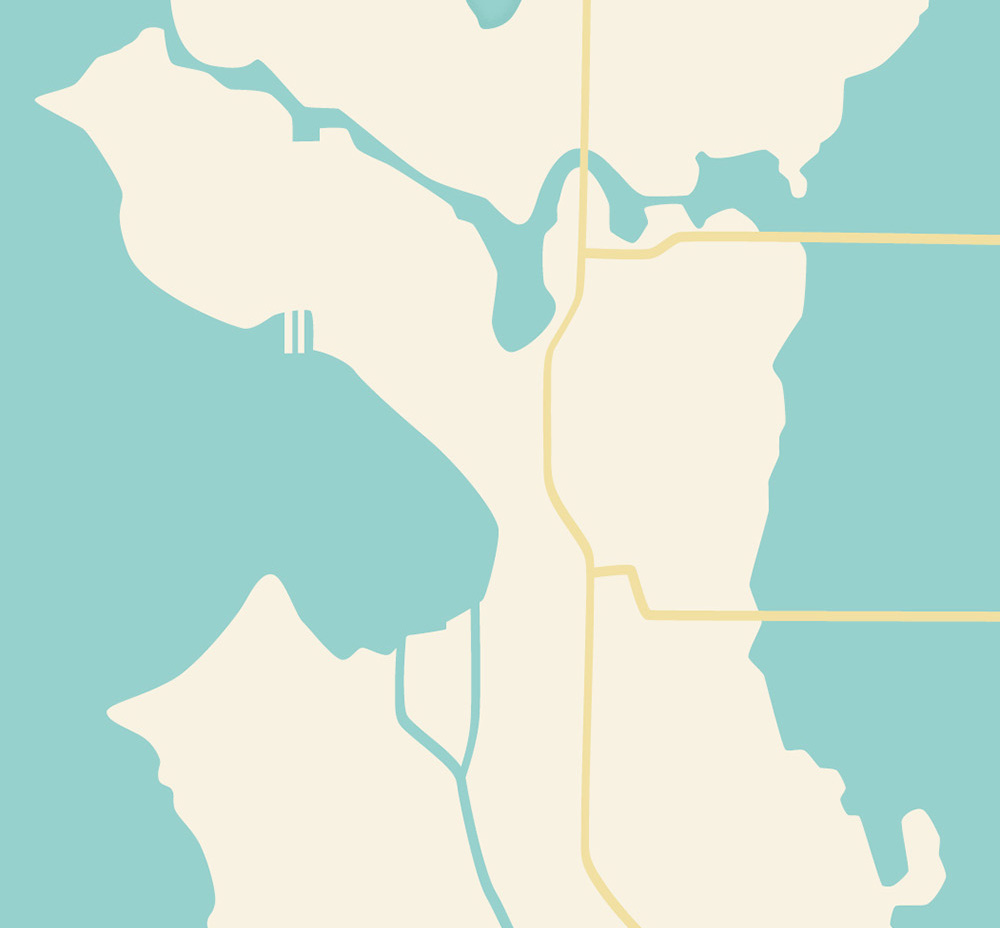
Open up Illustrator or Photoshop (other software packages are available) and import the screenshot of the Google Map. Set the transparency of the map screenshot to 'Multiply' and lock the layer. You tin now create new layers underneath and you'll ever take the Google map as a handy reference.
Add a background colour and start drawing the main arteries of the city: the roads, rivers, train lines and and then on. You'll begin to see the form of the map start to take shape.
04. Add together your labels
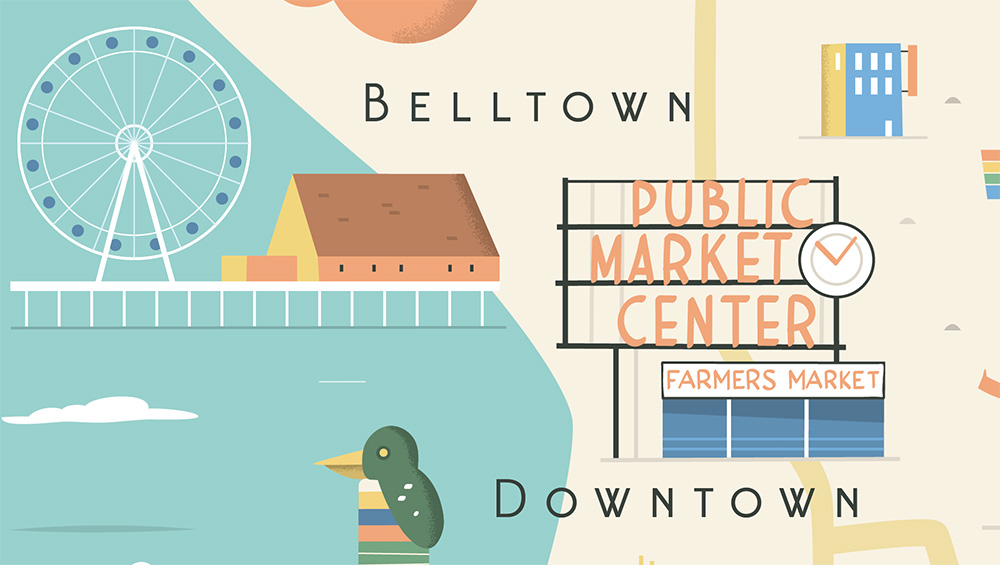
Text can be a feature in itself, so add together the labels early on to starting time building up the density of the map. Handwritten labels can actually help add together to the character of the artwork.
05. Sketch out and residue your icons
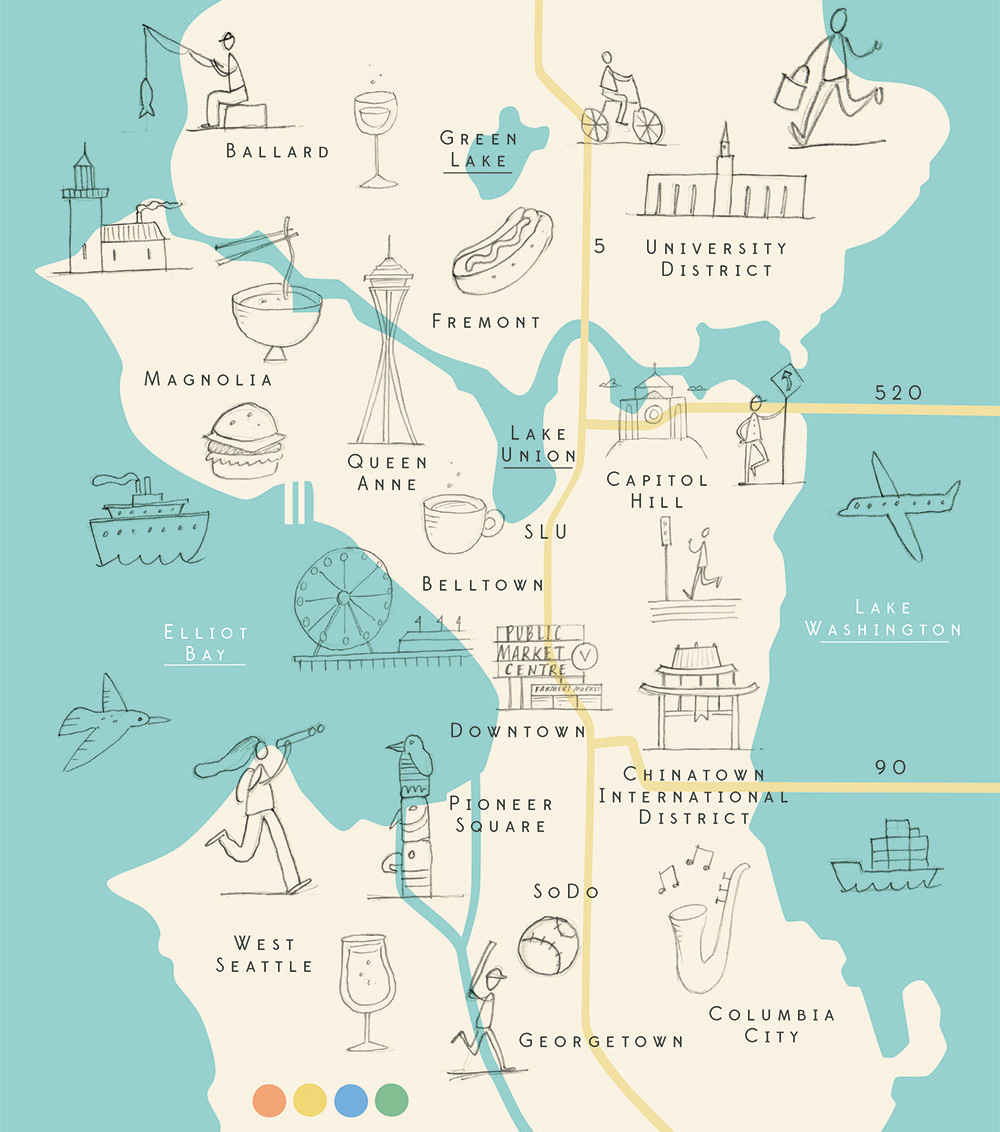
Enquiry the landmarks and collect images of them from different angles. Remember about which viewpoint works best with your map. I like to sketch out the landmarks on paper, and so scan the sketches in and import them into my map, but you tin do all this digitally if yous prefer.
Try out different placements and sizes until you lot feel like the layout is evenly balanced. If some of the landmarks are all clustered together try spacing them out and calculation arrows to aid connect them with their geographic location. The beauty of illustrated maps if that they don't need to be 100 per cent authentic. A bit of artistic licence is encouraged.
06. Cull your colour palette
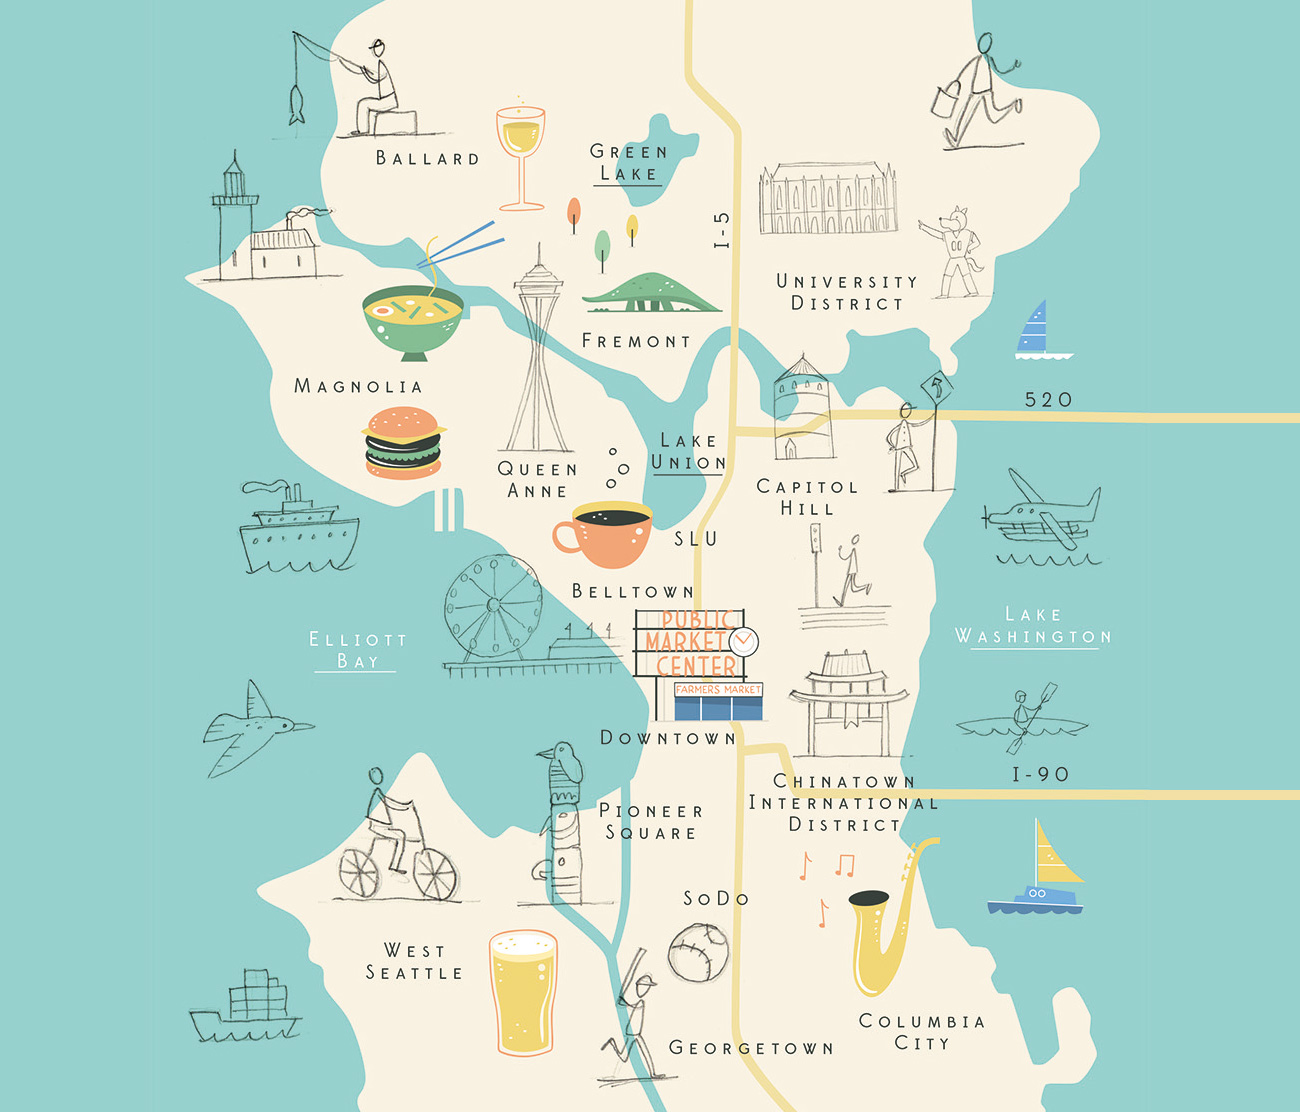
Try and select colours that assistance capture the atmosphere of the location. A sunny holiday destination might have a yellow background and a rural map could be predominantly light-green. It tin too help to base your color palette on one of the iconic landmarks and use this to set the tone for the rest of the map.
Experiment with different combinations and attempt and observe a complementary colour for the icons that helps them stand out from the background. First to colour your landmarks. At this point y'all might need to resize them once again, as the impact of the colour can alter the residual of the composition.
07. Build upward detail

Add together a few people and animals to breathe some life into your map. In the Seattle map the client wanted to include lots of different sports, such as boating and cycling, to show all the different activities yous can do in the urban center. People are also a good way to aid fill any empty space you might accept. Add a bit of fun and play around with the scale of the characters – they could exist equally big every bit a building if you want.
08. Research the local cuisine
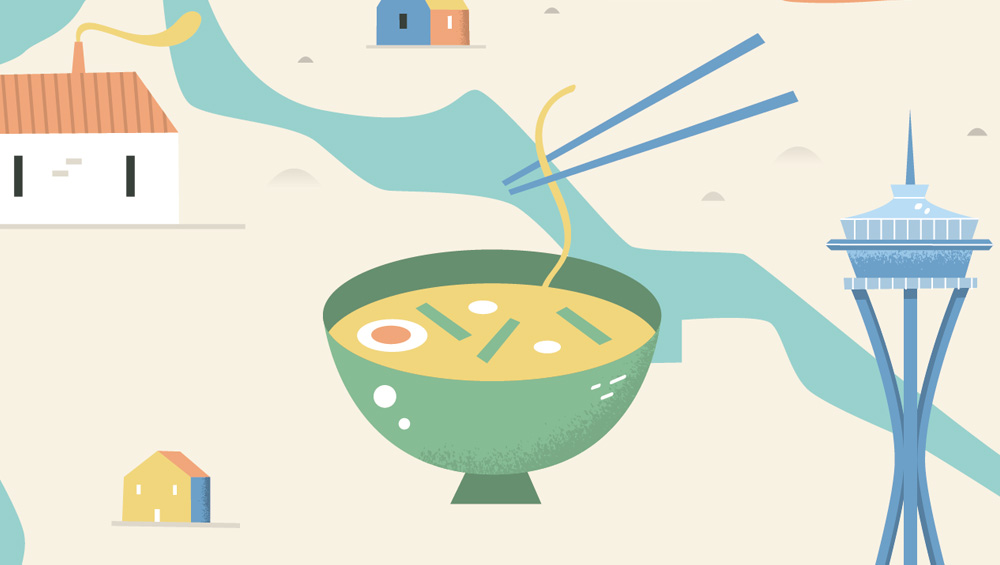
Icons of food and drink specific to the area are another keen way to add more than interesting particular to your map. Java cups and beer glasses are an ever-present in lots of the maps I create, but adding some unusual local delicacies will make your map more memorable.
09. Fill in any gaps
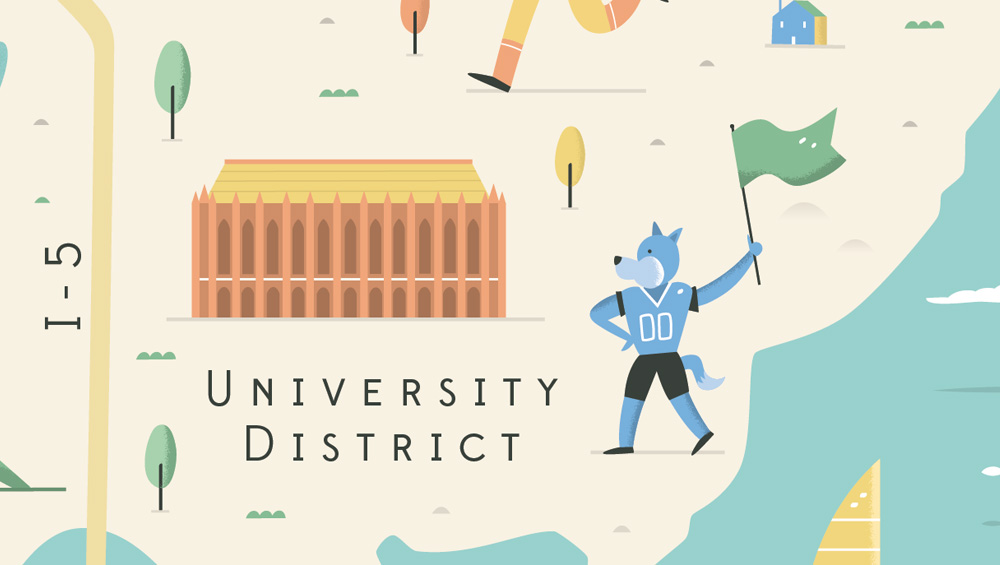
Small details such as buildings, road signs and trees aid fill any remaining space and bring the whole map together. Double-check your colours and make sure everything is harmonising. Sometimes just the addition of a few pocket-size copse can change the focus. Zoom out then you can see the whole map on screen and tweak the limerick and colours until you have a well-balanced last composition.
Below you can see my last design for the Visit Seattle tourist board mag.
Read more:
- These tutorials show y'all how to draw just well-nigh anything
- xx sketching tips to help you lot make your get-go marks
- The best drawing apps for iPad
Source: https://www.creativebloq.com/how-to/map-illustration
Post a Comment for "Site to Create a Clip Art Map of a Town With Buildings"